English
Presentation
Why?
Anonymous was created to enhance role-playing (RP) on Discord servers. The well-known //Anonymous// or /ano is often not taken seriously by all players. That's why we developed an application aimed at addressing this issue

For whom?
Anonymous was mainly designed for use on Role Play servers. However, it can also be used on other types of servers, depending on your needs.
Features
User Commands
/mask: The main function of Anonymous is to allow your users to communicate anonymously with each other or with others. That's why Anonymous takes care of that. You just have to send your message specifying that you want it to be anonymous, and it takes care of the rest.


/crypt: Sometimes, it is necessary to communicate with your partner, but it should not be possible for someone to know the subject of your conversation. For this, Anonymous has thought of everything. It can encrypt your messages with a key that only you and your partners would know.


/uncrypt: To decrypt a message, you need to know the decryption key (identical to the one used for encryption). Once the command is entered, Anonymous will communicate the decrypted result to you via a private message.


Logs
Of course, Anonymous keeps a history of the messages you send it (this history will only be visible to the server administrators).


Installation
💡 To stay up to date on upcoming bot improvements, join our Discord and get the Anonymous role.
Step 1 — Invite the bot to your server
Click the following link to invite the bot: Invit the bot
You must be an administrator of the target server to perform this action.
Once the invitation is confirmed, you will receive a private message from the bot.
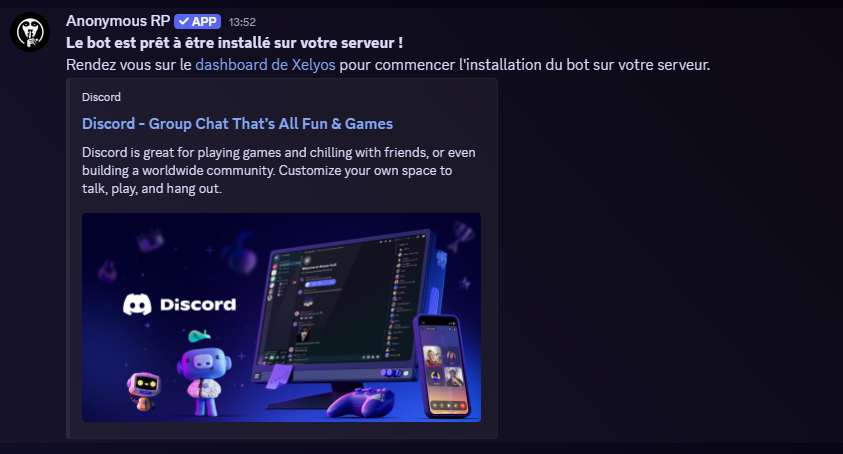
Step 2 — Initialize the bot
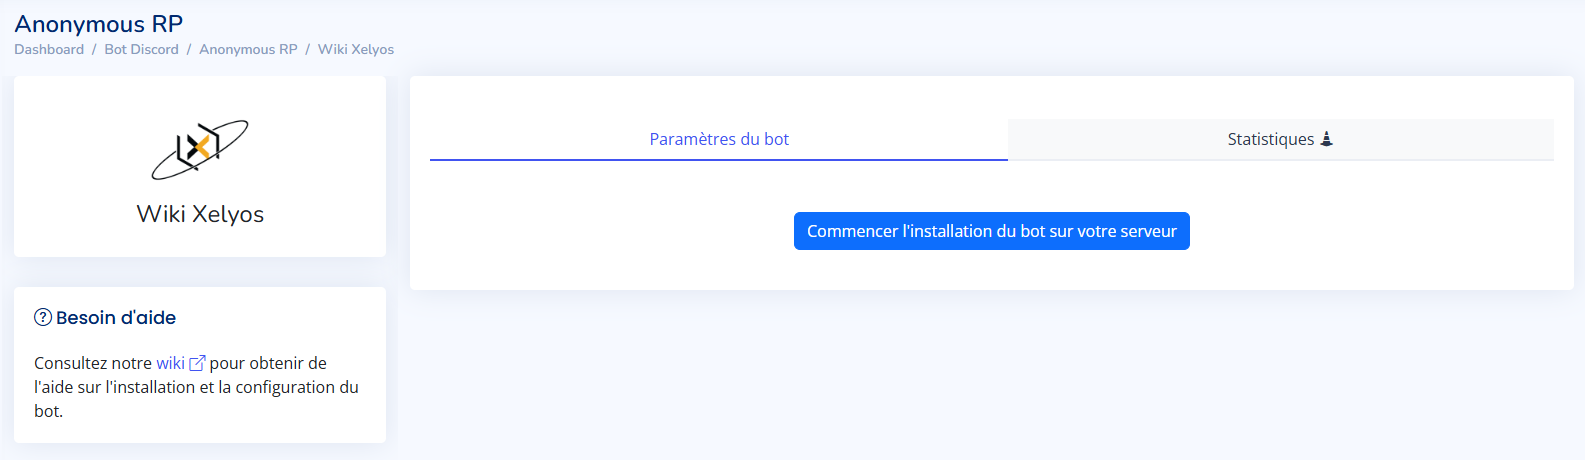
Go to the Xelyos Dashboard, under Discord Bot › Anonymous RP.
The page displays the list of servers you own where the bot is installed.

Can't find your server? Click Sync my servers.
Select your server, then click the Initialize bot button.
This will automatically create:
The bot will not work without a valid log channel.
Configuration
The Anonymous bot is configured entirely from the Xelyos Dashboard.
(2026-03-30) Currently, only the bot owner can access the configuration panel. Administrator access is under development.
Log channel & message framing
This section allows you to define:
- the log channel used by the bot;
- the message frame (visual elements surrounding each message sent by the bot).
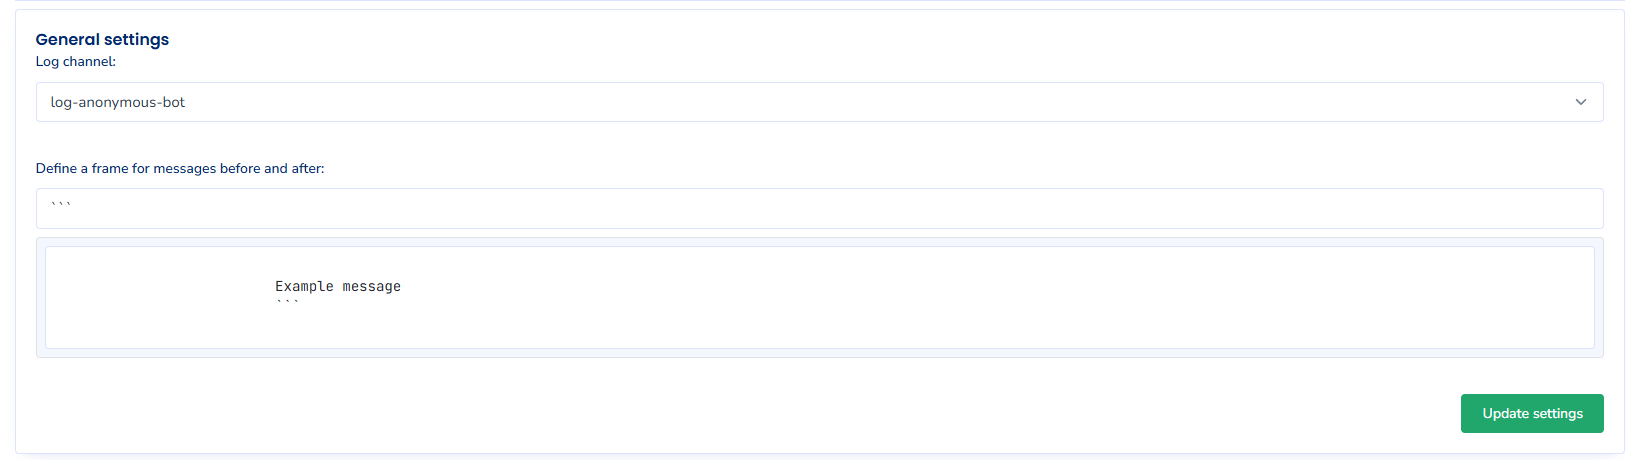
To display messages without a frame, leave the Frame field empty.
Command restriction by channel
This section allows you to restrict the use of bot commands to specific channels.
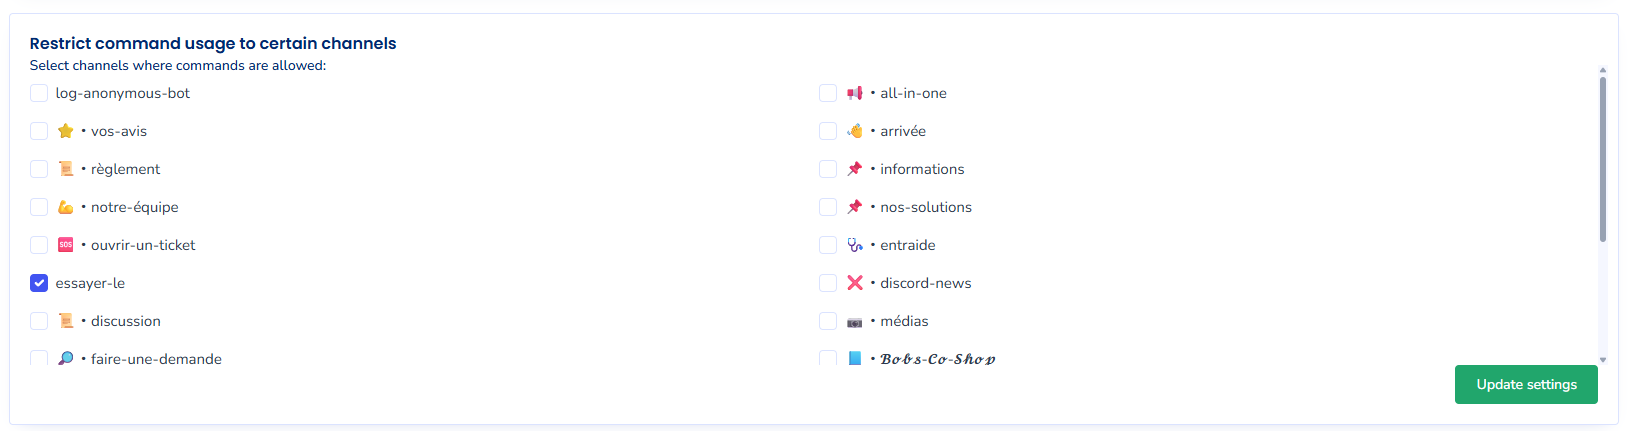
If no channel is defined, commands can be used anywhere on the server.
Automatic message hiding
This feature allows you to automatically hide messages sent by the bot in the channels of your choice.
Cette fonctionnalité permet de masquer automatiquement les messages envoyés par le bot dans les channels de votre choix.
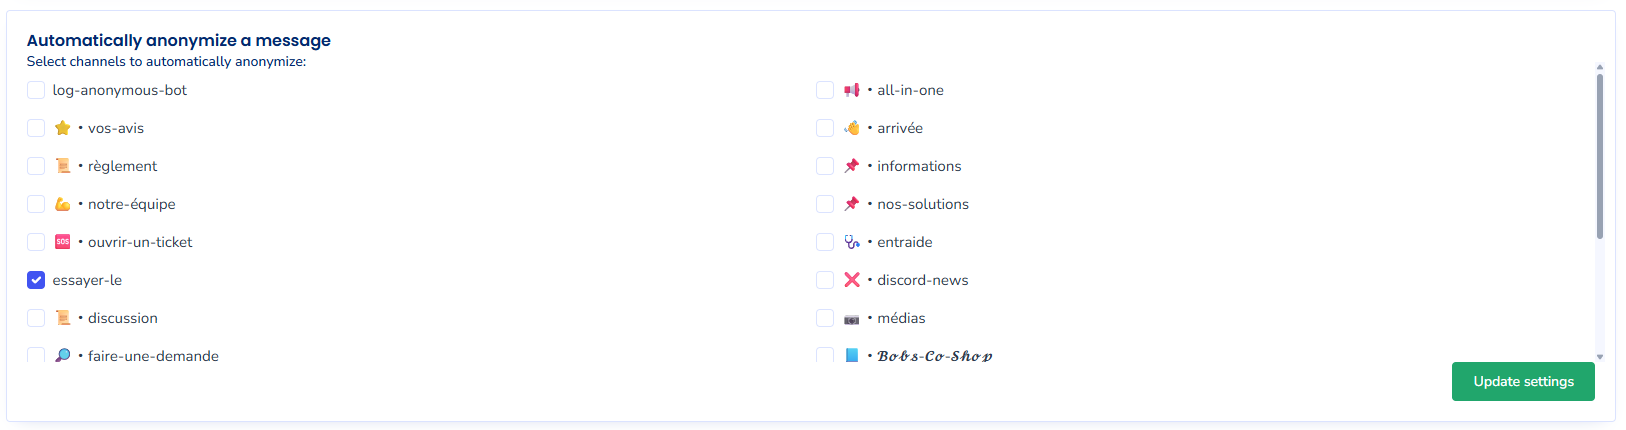
Automatic hiding only applies to automatically sent messages.
Other bot commands remain fully usable in those channels.