If Dark Chat is integrated into an in-game platform, **such as FiveM**, registering and connecting with Discord may not be possible. In such cases, alternative authentication methods are provided.
### Creating an Account To start using Dark Chat RP: 1. Visit the Dark Chat homepage. 2. Click on the ****Sign Up**** button. [](https://xelyos-wiki.s3.amazonaws.com/uploads/images/gallery/2025-04/TeGimage.png) #### Accepting the Rules Once logged in, you must accept the rules before you can begin using the system. [](https://xelyos-wiki.s3.amazonaws.com/uploads/images/gallery/2025-04/kOCimage.png) --- ### Logging In 1. Navigate to the login page. 2. Choose one of the following methods: - ****Discord Authentication****: - Click the "Log in with Discord" button and follow the instructions to connect using your Discord account. - ****Username and Password****: - Enter your username and password, then click ****Log In****.To use Dark Chat, you must also be a member of the server's Discord community.
# Manage my option ### Editing Account Information - Access Your Account Settings [](https://xelyos-wiki.s3.amazonaws.com/uploads/images/gallery/2025-04/U8rimage.png)Your username and password enable you to log in to Dark Chat when Discord authentication is not available.
- By default, the username and password are generated randomly. - ****Configure Discord Notifications**** - In the settings, you can choose whether to enable or disable notifications sent via Discord direct messages (DM). # Channels ### Joining a Channel - ****From the Homepage**** - Enter the name of the channel you wish to join in the search bar. [](https://xelyos-wiki.s3.amazonaws.com/uploads/images/gallery/2025-04/zQXimage.png) - ****Access Messages**** - Once you join a channel, you will gain access to its messages. - ****Channel History**** - Any channel you join will appear in the history panel on the left side of the interface. [](https://xelyos-wiki.s3.amazonaws.com/uploads/images/gallery/2025-04/f4Cimage.png) --- ### Actions Available in a Channel ##### Enable/Disable Discord Notifications [](https://xelyos-wiki.s3.amazonaws.com/uploads/images/gallery/2025-04/8rdimage.png) - Notifications are active from the moment you leave the channel. - You will receive a notification whenever a new message is posted. - If multiple messages arrive afterward, only one notification will be sent until you revisit the channel. ##### Leave the Channel [](https://xelyos-wiki.s3.amazonaws.com/uploads/images/gallery/2025-04/Sn3image.png) # Messages ### Sending Messages #### Sending Text Messages - You can send a message by clicking the ****Send**** button or pressing the ****Enter**** key. #### Sending Images 1. ****Drag and Drop**** - Drag your image into the drop zone located below the text area. 2. ****Copy and Paste**** - If you have a screenshot, use ****Ctrl+V**** in the text area to integrate the image directly into your message. [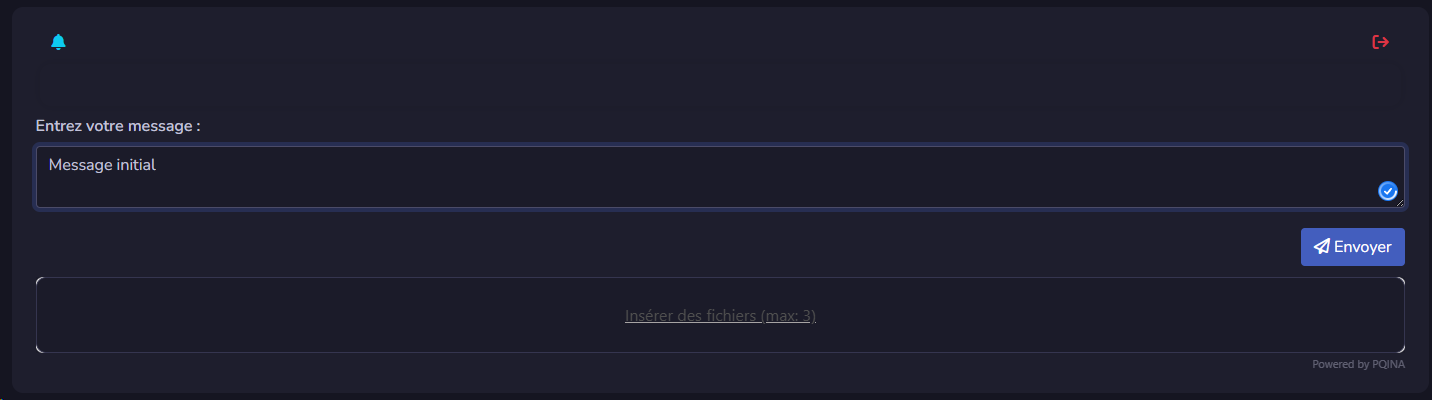](https://xelyos-wiki.s3.amazonaws.com/uploads/images/gallery/2025-04/3UWimage.png)| [](https://xelyos-wiki.s3.amazonaws.com/uploads/images/gallery/2025-04/mkeimage.png) | [](https://xelyos-wiki.s3.amazonaws.com/uploads/images/gallery/2025-04/HQrimage.png) |
Deleting a channel group will also delete all channels it contains. Please double-check before proceeding.