Installation
To stay updated on the upcoming improvements to the Anonymous bot, join our Discord, and use the Anonymous role:Join us on Discord
Step 1: Invite the Bot to Discord
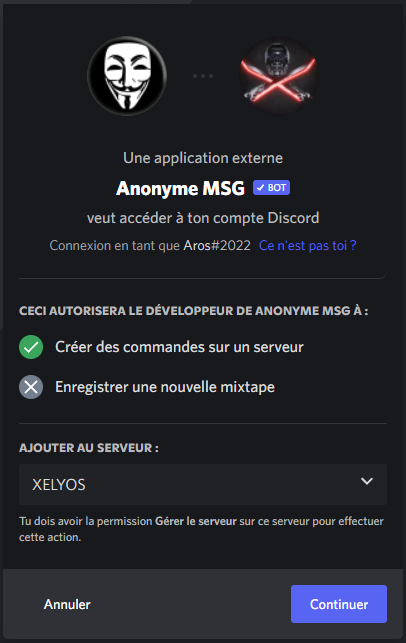
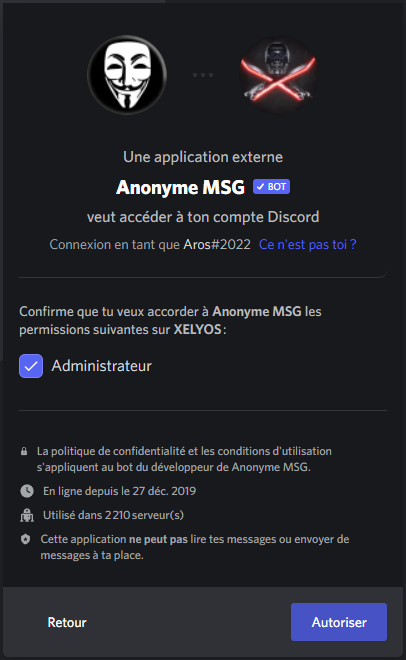
Using the following link, invite the Bot to your server (⚠ Warning ⚠, you must be the administrator): Invite the bot


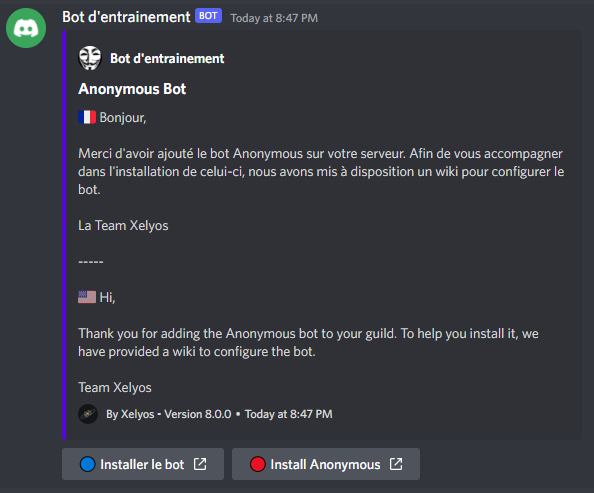
Once the bot is invited, you will receive a private message:

Step 2: Creating Channels
The first step for installing the bot is to type the following command:
/init-anonymous
A new category and a channel will then be created (this is the channel where the bot's logs will be sent):

The bot may inform you that a version is already installed. This is due to the saving of your configuration files. To force this installation, click the button or use the command:
/init-anonymous --force

You can also change the log channel at the time of installation using the logs option. You just need to specify the text channel you want to use for the logs.

Step 3: Setting Up the Logs
- You can move the log channel wherever you want. Don't forget to hide it from people who are not supposed to access it. (⚠ Warning ⚠: make sure the Bot still has access to the log channel)
- You can also change the log channel at any time using the command:
/update-logsand selecting the new text channel.
Step 4: Announcement
You just need to inform your community about the arrival of the BOT. To do this, use the command in the log-anonymous-bot channel:
/announcement #channel_name

Step 5: Configuring Your Server
Configure your server settings with the following commands: /config-anonymous --help

Settings you can configure:
- Limiting the use of commands in specific channels: define the channels where commands can be used.
- Automatically masking a message in a channel: define the channels where all sent messages will be masked (without the /mask command).
- Adding elements before and after a masked message: customize the formatting of masked messages.
- Displaying the bot's configuration help.
