Creation and Configuration of the Discord Bot
In this section, we will guide you step by step to create and configure the Discord bot dedicated to the administration and management of the Dark Chat RP system.
We will cover the following steps:
- Creating the bot via the Discord Developer Portal.
- Configuring the necessary permissions and settings.
- Inviting the bot to your server!
The goal is to make the process clear and accessible, even for those who are new to managing Discord bots. By following this guide, you will be able to quickly set up your bot.
Let’s move on to the first step: creating the Discord bot.
Step 1: Creating the Bot
1. Access the Discord Developer Portal
Go to the official Discord Developer Portal website. This is where you will manage your bot and its settings. Make sure you are logged in with your Discord account.
2. Create a New Application
Once on the portal:
- Click the "New Application" button at the top right of the screen.
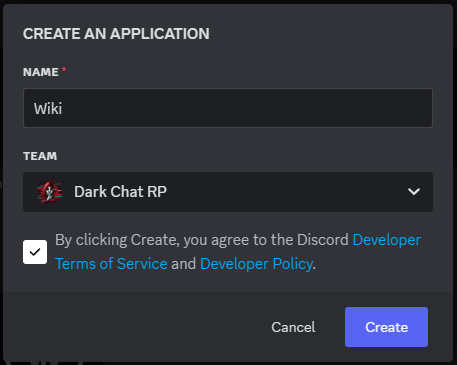
- A pop-up window will appear allowing you to name your application.
3. Enter the Application Name
- Give your new application a name. It can be Dark Chat RP or any other name that represents your bot.
- Click "Create" to confirm the creation.
4. Add General Information
After creating the application, you will be redirected to the bot management page.
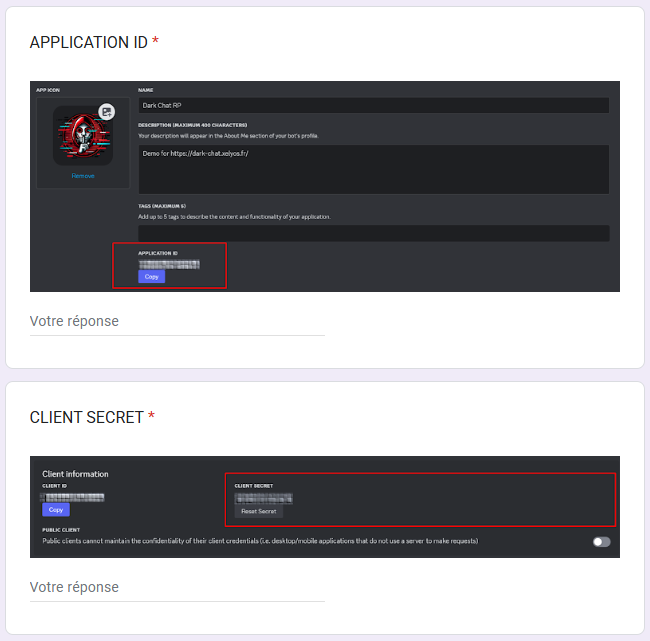
- Logo: Upload an image to represent your bot (e.g., an avatar related to your server’s theme).
- Name: Verify or modify the bot’s name.
- Description: Add an optional description to explain what the bot does or provide details about its role.
Step 2: Inviting the Bot to Your Discord
Although this step is done early in the process, it will allow us to quickly finalize the installation and move on to the next steps without complication. Don’t worry, this initial configuration doesn’t require advanced permissions for the bot, except the ability to send messages to users.
Instructions for Installing the Bot:
-
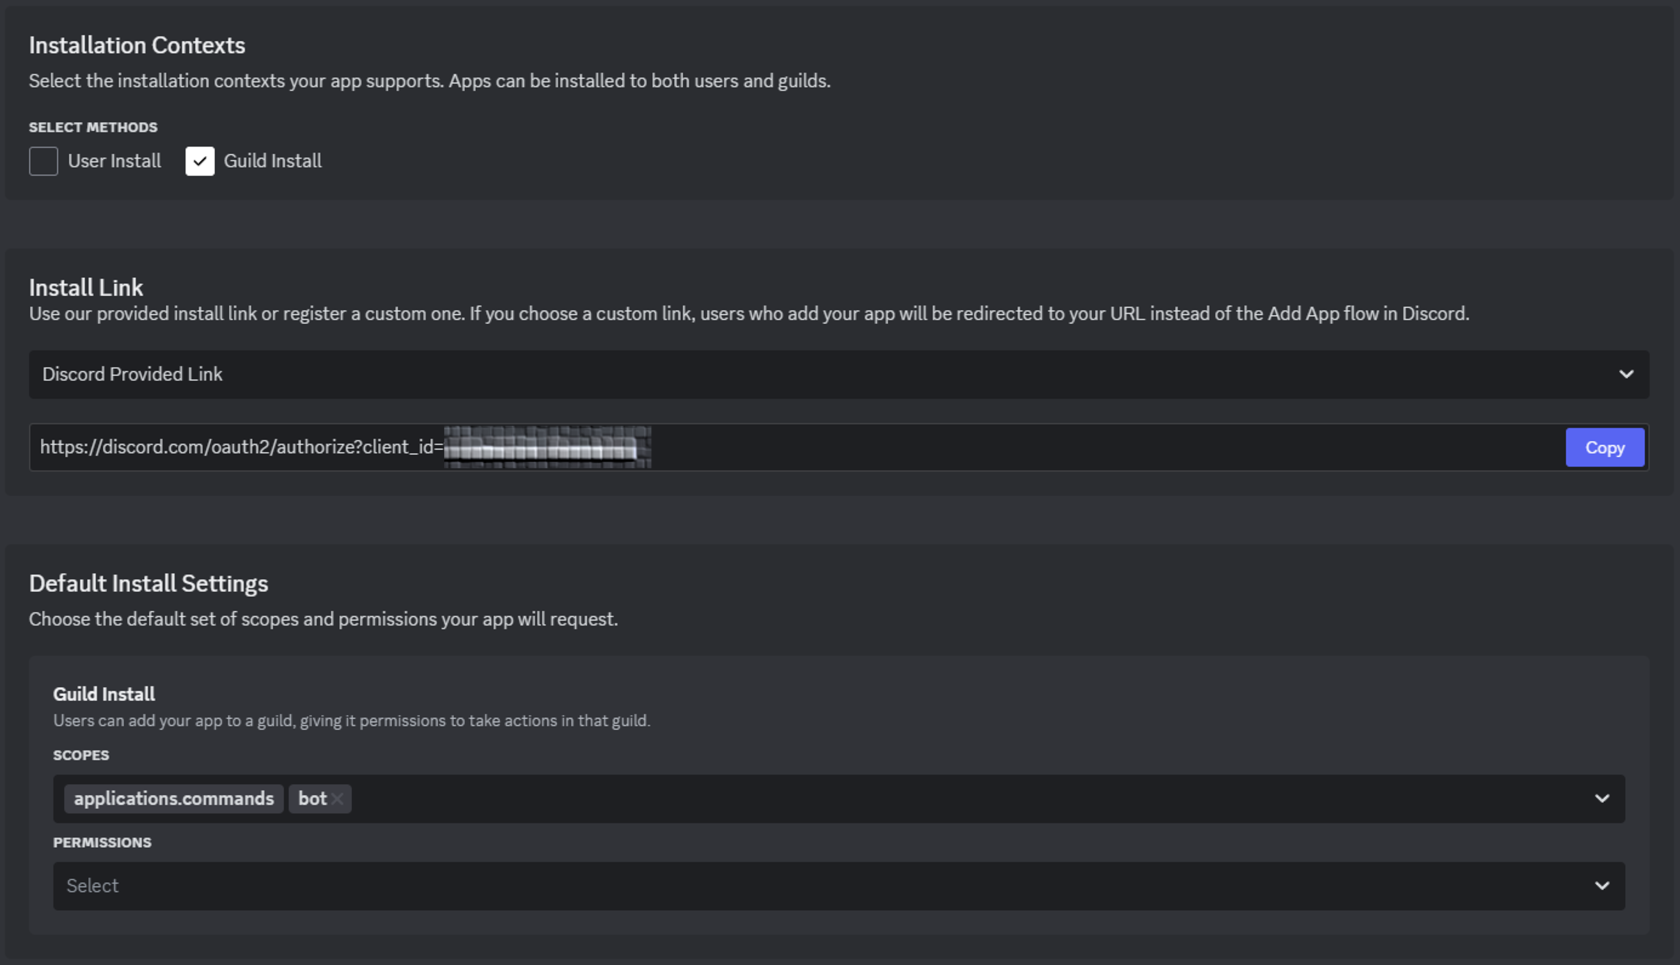
Go to the "Installation" Section
- In the Discord Developer Portal, go to the application you just created.
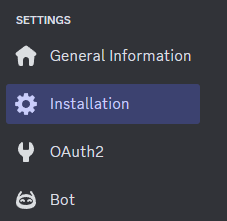
- In the sidebar, click on the Installation tab.
-
Set the Parameters
- Set the parameters as shown in the image below.
-
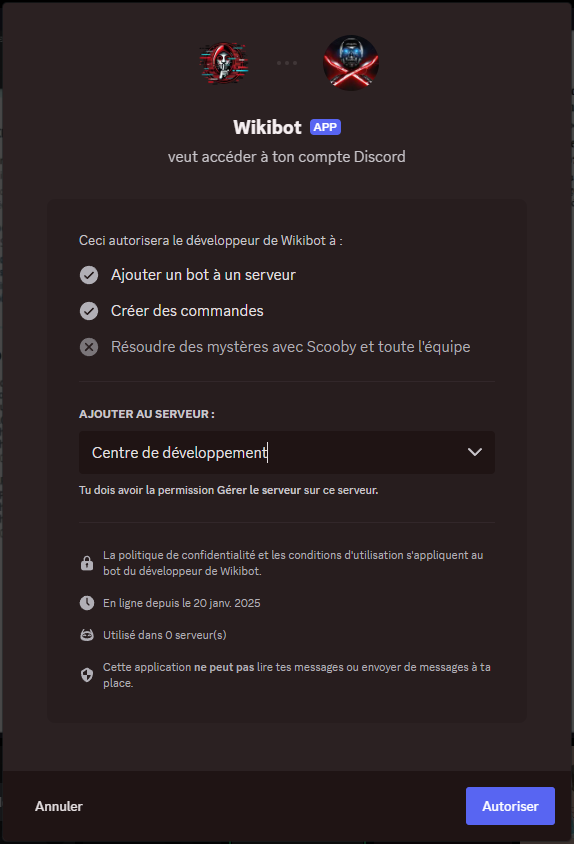
Invite the Bot to Your Server
- Copy the generated invite link for the bot from the Installation section.
- Paste this link into your browser to invite the bot to the Discord server of your choice.
- Select the target server and click Authorize.
Step 3: Configuring OAuth2
This step is essential to enable user authentication within the Dark Chat RP system. We will configure the necessary information for the bot to interact correctly with the website.
1. Retrieve the Client ID and Client Secret
- Access the OAuth2 Information
- From the Discord Developer Portal, select the application you have created.
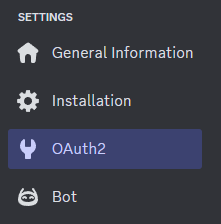
- Click on the OAuth2 tab in the sidebar.
- Retrieve the Client ID
- In the General Information section, locate the Client ID field.
- Click the Copy button next to it to copy the unique identifier of your application.
- Generate and Retrieve the Client Secret
- In the same General Information section, locate the Client Secret field.
- Click Reset Secret to generate a new secret.
- Once generated, copy the displayed Client Secret.
- Integrate the Information into the Form
- The Client ID and Client Secret values are essential for correctly configuring the bot.
- Enter them into the GForm that was sent to you.
-
- Paste the Client ID and Client Secret into the corresponding fields in the form.
2. Configuring the Redirect URL
To finalize the OAuth2 configuration, we need to define a redirect URL. This URL is used to verify and process the user information after authentication via Discord.
- Access the Redirect Settings
- Still in the OAuth2 section of the Discord Developer Portal, locate the Redirects or Redirect URL section.
- Compose the Redirect URL
- Take the domain name associated with your Dark Chat RP system.
- Add the prefix
http://in front of the domain name. - Then add
/connect-discord/checkat the end of the URL.
Example:
If your domain is darkchatrp.xelyos.fr, your redirect URL will be:
Step 4: Configuring the Bot Settings
1. Set the Bot’s Name, Avatar, and Banner
2. Retrieve the Bot Token
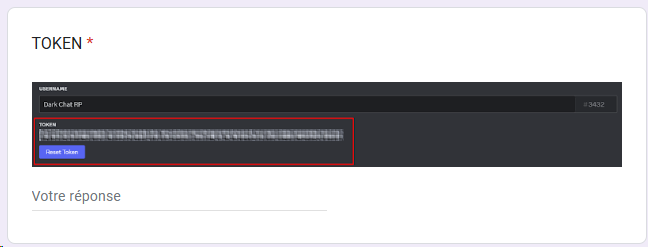
- Token: In the Bot tab, copy the token of your bot.
- Integration: Paste this token into the GForm that was sent to you.
Warning: The token is confidential, do not share it anywhere else!
Step 5: My Bot Stays with Me
This step ensures that your bot is not public and can only be available on your Discord server.
1. Modify the Installation Link
- Go to the Installation tab in the Discord Developer Portal.
- In the Install Link section, set it to none to prevent the bot from being added to other servers.
2. Disable the Public Bot Option
- Next, go to the Bot tab.
- Uncheck the Public Bot option.
- This will prevent your bot from being publicly visible and thus added to other servers.


