
Installation
💡 To stay updatedup to date on the upcoming improvementsbot to the Anonymous bot,improvements, join our Discord, and useget the Anonymous rolerole.
Step 1:1 — Invite the Bot to Discord
Using the following link, invite the Botbot to your server
(
Click the following link to invite the bot: Invit the bot
⚠️ Warning ⚠, youYou must be thean administrator):administrator


Once the botinvitation is invited,confirmed, you will receive a private message:message from the bot.
Step 2:2 Creating— Channels
Initialize the bot
Go to the Xelyos Dashboard, under Discord Bot › Anonymous RP.
The firstpage stepdisplays forthe installinglist of servers you own where the bot is toinstalled.
/init-anonymous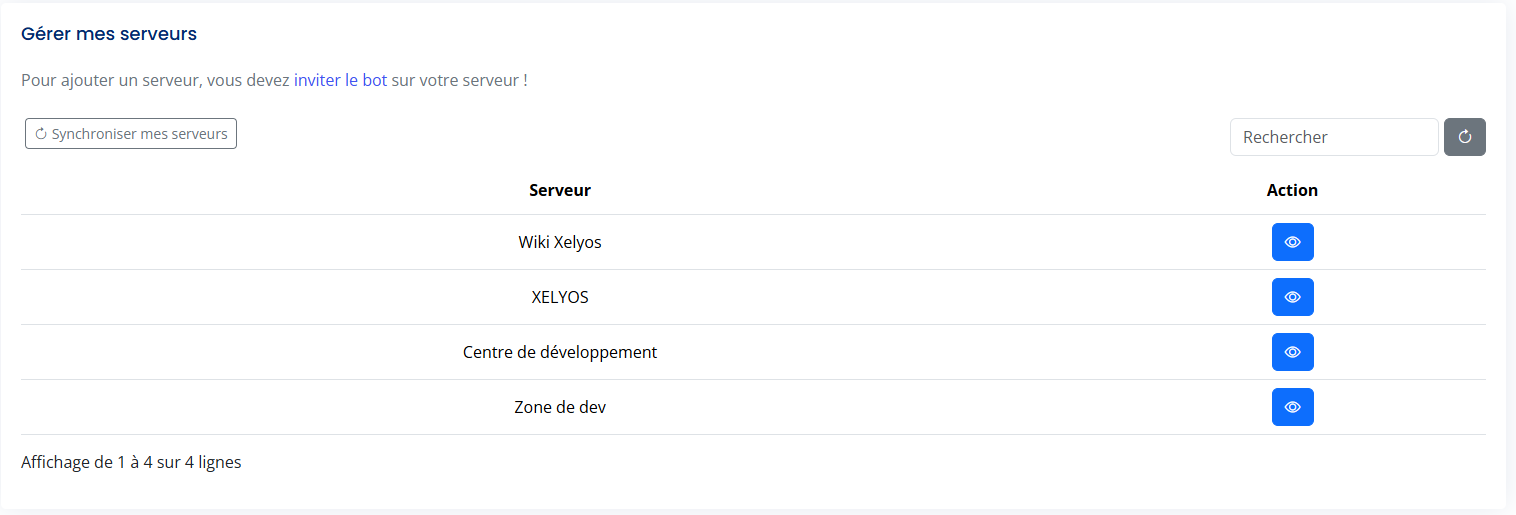
A🔄 newCan't category and a channel will then be created (this is the channel where the bot's logs will be sent):

The bot may inform you that a version is already installed. This is due to the saving offind your configurationserver? files.Click ToSync forcemy thisservers.
Select your server, then click the buttonInitialize orbot usebutton.
/init-anonymous --force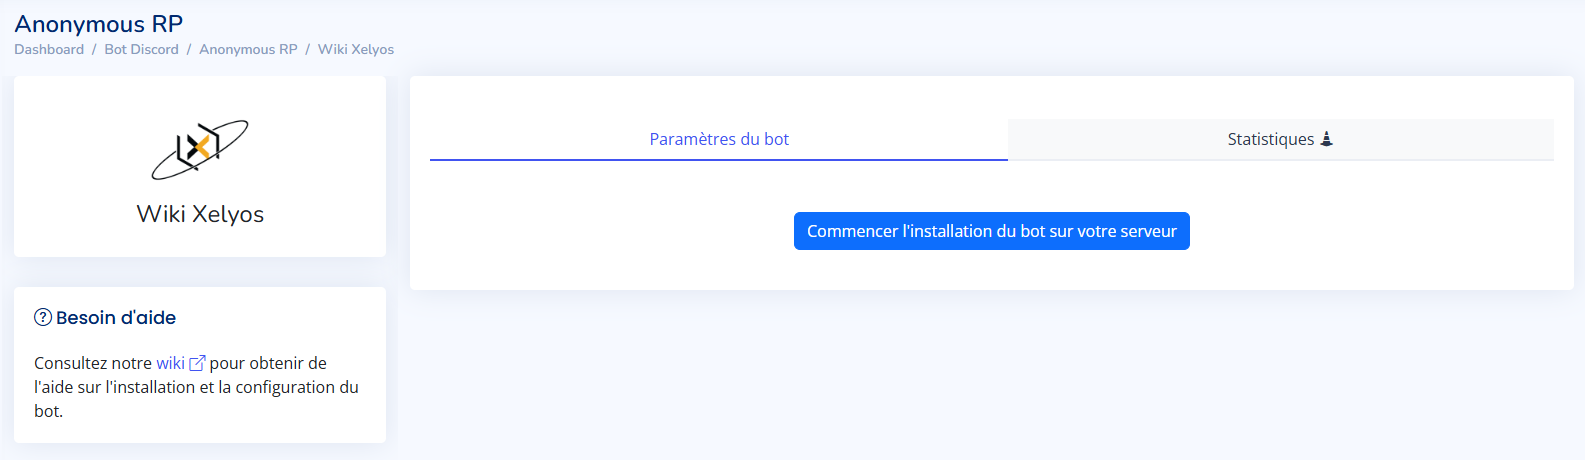
This will automatically create:
You🚨 canThe alsobot changewill thenot work without a valid log channelchannel.

Step 3: Setting Up the Logs
You can move the log channel wherever you want. Don't forget to hide it from people who are not supposed to access it. (⚠ Warning ⚠: make sure the Bot still has access to the log channel)- You can
alsochangethe logthis channel at any timeusingfrom thecommand:settings:/update-logsand selectingEdit thenewlogtext channel.
Step 4: Announcement
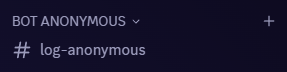
You just need to inform your community about the arrival of the BOT. To do this, use the command in the log-anonymous-bot channel:channel.
/announcement #channel_name

Step 5: Configuring Your Server
Configure your server settings with the following commands: /config-anonymous --help

Settings you can configure:
Limiting the use of commands in specific channels: define the channels where commands can be used.Automatically masking a message in a channel: define the channels where all sent messages will be masked (without the /mask command).Adding elements before and after a masked message: customize the formatting of masked messages.Displaying the bot's configuration help.
Displaying the bot's configuration help